Example of tools available on computer – Snipping Tool
Snipping tool is a very useful tool for every windows user
When we need
a part of portion to an open window to be crop, then this tool is very useful.
This tool is available in Windows 7 to Windows 10. And this is a free tool. This
tool is available with the windows.
Here are the
steps that how does this Snipping tool works for the window user.
Step -1
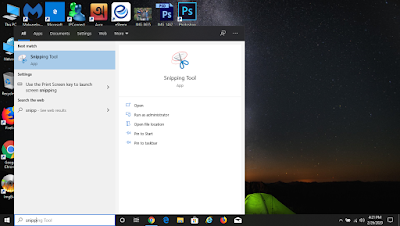
Type
snipping tool in the search box in Windows.
Step -2
Then go to
the Snipping Tool App. A new window open
Step – 3
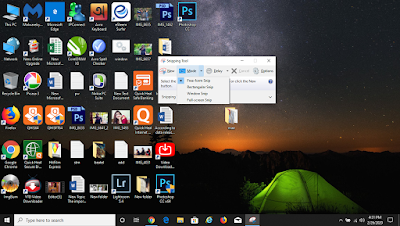
Click on new
option in to the Snipping tool window
Step -4
Drag in to the
portion which you need, a new window open from your selection.
Before
dragging you can also change the mode option
Click on
mode option. You will find different option
a) Free from Snip
b) Rectangular Snip
c) Window Snip
d) Full-screen snip
Drag the
portion as per your above requirements
Step – 5
After
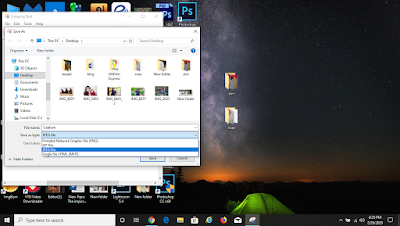
dragging a new window is open. And then go to the file option and go to save
as.
Step -6
Different
file option was there. You can save it like JPEG File, PNG (Portable Network
Graphic) File, GIF file and also single file HTML.
Step -7
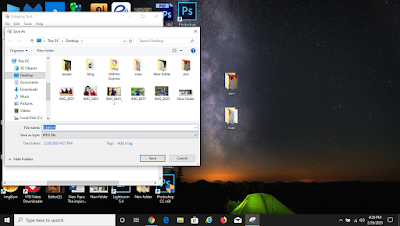
Default file
name is capture. You can change it as per your requirement.
Hope the
topic help you a lot regarding Snapping Tool.


0 Comments